How to Create Stunning Slate Engravings with a 30W MOPA Fiber Laser: A Beginner’s Guide
Engraving slate doesn't have to be hard
Engraving slate with a 30W MOPA fiber laser is an incredibly rewarding experience. Whether you’re making custom gifts, home decor, or just experimenting with the material, slate offers a unique challenge and opportunity for stunning designs. In this guide, I’ll walk you through every step of the process—from setting up the laser to achieving a perfect engraving. Along the way, I’ll share my settings and tips to help you get the best results, even if you’re just starting out.
Set Up Your Slate and Laser
Before you even touch the laser, you’ll need to secure your slate onto the laser bed. I’ve found that using acrylic corner brackets works well for alignment, but if you don’t have those, a simple method I use is to draw a circle in Lightburn that matches the size of your slate (in this case, a coaster). You can frame out the circle in Lightburn to double-check alignment before you start engraving. If you have the proper alignment, your design will engrave evenly every time.
Design and Settings for Engraving
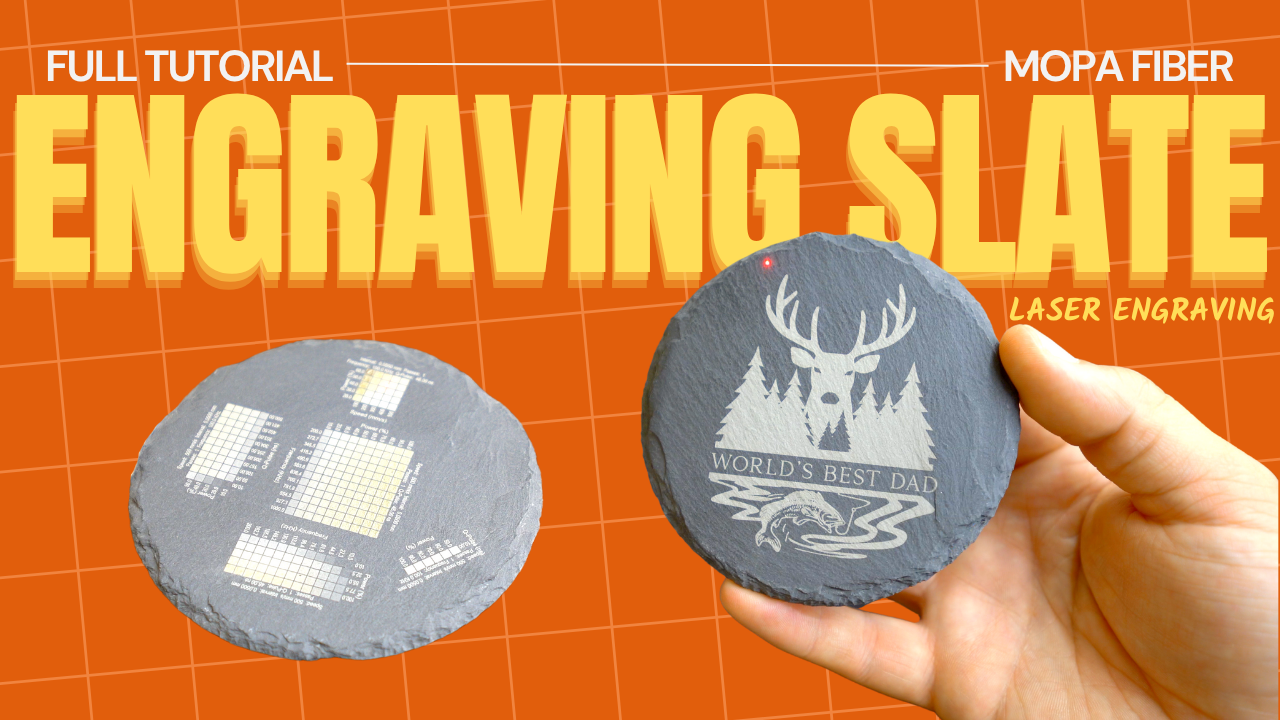
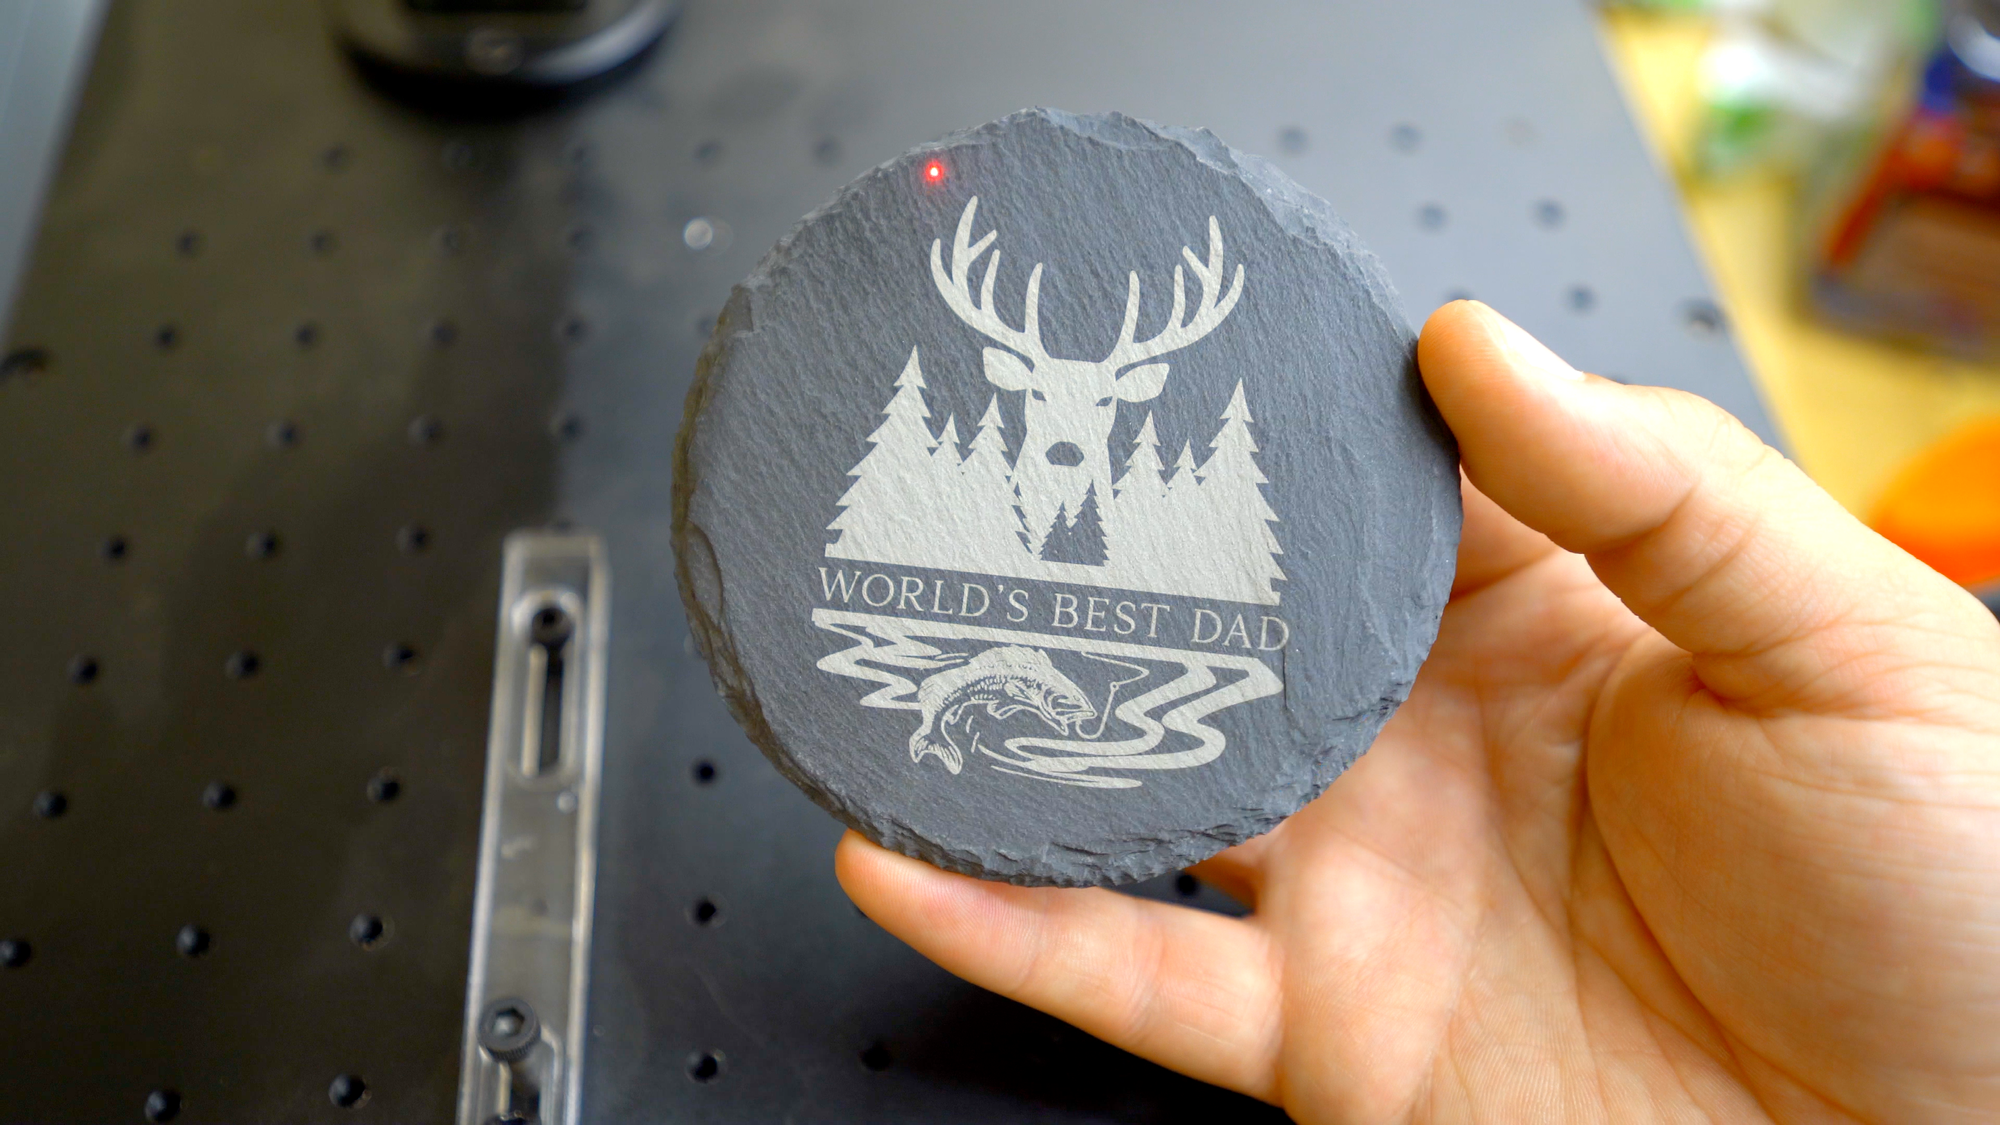
The design I’m using for this tutorial is a deer head with a mountain scene, paired with the text "World's Best Dad." It’s a detailed design, but with the right settings, you can get sharp details even on slate.
Here are the settings I used for this specific engraving:
- Speed: 500mm/s
- Power: 20%
- Frequency: 100kHz
- Q-pulse: 60ns
- Mode: Bidirectional, crosshatch
- Line Interval: 0.05mm
- Angle: 45-degree angle
- Fill: Flood fill
These settings worked beautifully for this particular design, but the key takeaway is to experiment with your own power and speed settings based on your material and desired effect. For slate, you don’t need super high power; 20% should give you a deep enough etch without compromising detail.

Running Test Grids and Adjusting Settings
Before engraving your final design, it’s important to run test grids. Lightburn makes this easy by allowing you to create grids with different power, speed, and frequency combinations. Run a few tests to see how each combination impacts the engraving depth and quality. For slate, you want a crisp, clear engraving without too much burn-through, so finding the right balance is key.
Test grids will help you find the ideal settings. Once you’re satisfied with your results, you can move forward with your final design.
Engraving the Final Design
Now that you’ve tested the settings, it’s time to engrave your final design! Load it into Lightburn, double-check the alignment one last time, and hit the start button. If you’re using the circle method for alignment, framing it again before starting ensures your design will be centered.
The laser will slowly carve through the slate, creating each line of the deer head, mountain scene, and text. You’ll see the design come to life as the laser works its magic. It’s always a satisfying moment when you realize your settings are on point and your final piece is exactly what you envisioned.
Post-Engraving Care
Once the engraving is complete, carefully remove the slate from the bed. You’ll notice some dust or fine residue left behind, but I don’t typically clean the slate too much after engraving. I just use a quick blast of air to blow it off. This is all that’s needed to reveal the final, sharp engraving. If you’d like, you can give it a wipe down, but I find that air alone does the trick without disturbing the engraved details.
Troubleshooting Tips
Even with the best settings, there are times when things don’t go as planned. If your slate isn’t engraving deeply enough or if the details are blurry, here are a few things to check:
- Power and Speed: If the engraving isn’t deep enough, try slightly increasing the power or slowing down the speed. Slate is a hard material, so it often requires a bit more power.
- Focus: Ensure the laser is in perfect focus. A slight misfocus can cause the engraving to look fuzzy or uneven.
- Air Assist: If your engravings are getting too smoky or dirty, consider adding an air assist to blow away the debris while engraving. This keeps the slate clean and helps maintain engraving quality.
Final Thoughts
Engraving slate with a 30W MOPA fiber laser can open up endless possibilities for custom projects. With the right settings and a little practice, you can create incredibly detailed and professional results. Take your time, test your settings, and don’t be afraid to experiment with different designs and effects. Before you know it, you’ll be creating beautiful slate engravings that stand out from the crowd!