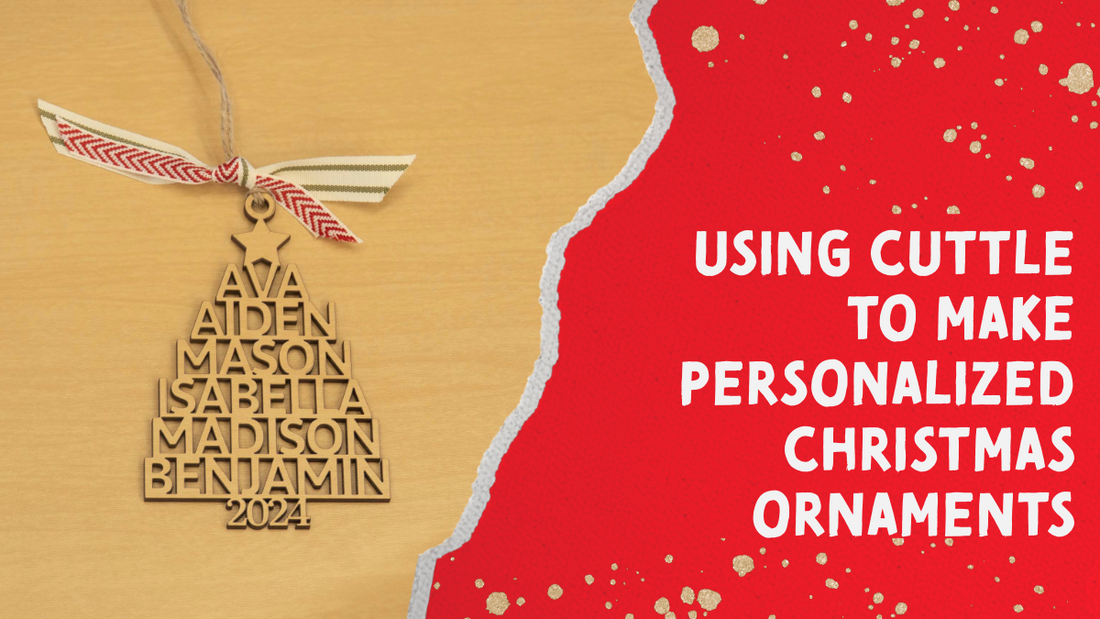
How to make a custom Christmas ornament with Cuttle
Share
It can be difficult to come up with a unique Christmas ornament idea. It's sometimes even more difficult to take that idea and turn it into a physical product. Cuttle is a website that makes designing many things for laser engraving easier, and in this post we're going to take a look at how to apply that to Christmas ornaments. Though I'll only be breaking down a single ornament's design, the workflow applies across the entirety of Cuttle. Haven't used Cuttle before? Use the code CREATEDWORKSHOP when signing up to score 10% off your first month or year. Now, let's dive into how to make this Christmas ornament with Cuttle and your laser.
Generating the ornament is as easy as a few clicks
Let's start by making the ornament on the Cuttle website. While there's many templates to choose from, I'll be using the Family Names Christmas Tree Ornament for the purposes of this post. You'll need Cuttle Pro to use this template. This ornament went crazy viral last year, and this year I expect it to be similarly popular.
Once you're on the page for the Family Names Christmas Tree Ornament, the fun begins. About halfway down the page there's a text box where you can begin typing names in to have the software automatically generate the cut file for you. Cuttle will put all the names in order of longest on bottom and shortest on top automatically, though under the advanced options you can disable this. Personally, I think this is an awesome feature and makes the design even less of a headache. While you might want certain names next to each other (which is still possible), having a properly-designed tree without having to mess with organization, alignment, and thinking is pretty great if I do say so myself.
There's options for changing the font, replacing the year with a tree trunk, and swapping out the default angel for other graphics like a star, snowflake, paw, or other objects. Really, you can spend as long or as little here as you'd like. For me, I swap the angel for a star, and type the names in, leaving the font, year, and everything else as-is. Cuttle will even give you a live preview of what the ornament will look like in real-time so you know exactly what the end result will be. All-in-all, it takes me about 45-60 seconds to generate a cut file using Cuttle for this ornament. And, it'd take even less if I was just copy/pasting names into the text box from an order. Click "Download SVG" and choose the format you want to save the file in (I choose SVG → Standard SVG here) and you're ready to move into Lightburn (or whatever software you use to run your laser.)
Moving to the laser couldn't be easier
The SVG exports at the proper scale for Lightburn (and should be the proper scale for other laser software too), which makes importing a one-click wonder. Simply drag and drop the SVG file into your software and you're good to go. Since I left the design as-is, and didn't set a border around it (which is an option Cuttle gives you,) I just set my cut settings to my standard 1/8-inch plywood and was ready to go. The cut took about two minutes or so on my 80W Monport CO2 laser, and cleanup was a breeze as I was using a pre-finished EcoBirch (TruFlat would work the same.) Tip: when using pre-finished plywood like EcoBirch/TruFlat/Baltic Birch/etc., use a melamine sponge (basically a Magic Eraser but way cheaper) to clean up the char. It's the fastest cleaning method I've ever come across. After using the melamine sponge, I just use a cotton rag to wipe off any remaining smudges from the ornament and it's ready for finishing.
Finishing touches can take your ornaments to the next level

Last year, I only used a piece of jute twine on my ornaments. This year, we're changing things up a bit. All ornaments get at least some ribbon, some also get a wood bead on the top. My wife and I tried the bead with this ornament, but found that it took away from the star at the top, and just went with the ribbon only. It looks more premium, only adds a few cents to the cost of goods, and makes the ornament look so much better.
Honestly, that's it! I know this article isn't super long, but that's because the process itself isn't super long. From start to finish, if I wasn't filming/photographing this job, it would have been sub-5 minutes. And, if you batch them out, then it takes even less time per ornament as you only have to set the laser up once for several ornaments. I know this article might sound it's a sponsored post by Cuttle, but it's not. They did give me a trial of the Pro subscription for free, but in no way are they sponsoring any of this content. I just really love how simple and easy the website is and how it allows you to make personalized, custom ornaments in a matter of minutes.
